On my recent trip to Portugal I took the opportunity to take some sunset pictures of the amazing pier “Cais Palafitico da Carrasqueira” situated not far from Setúbal – my hometown. As you already have probably noticed in your own photos, cameras cannot capture what the human eye does: you cannot shoot details in both bright and dark parts of the same image.
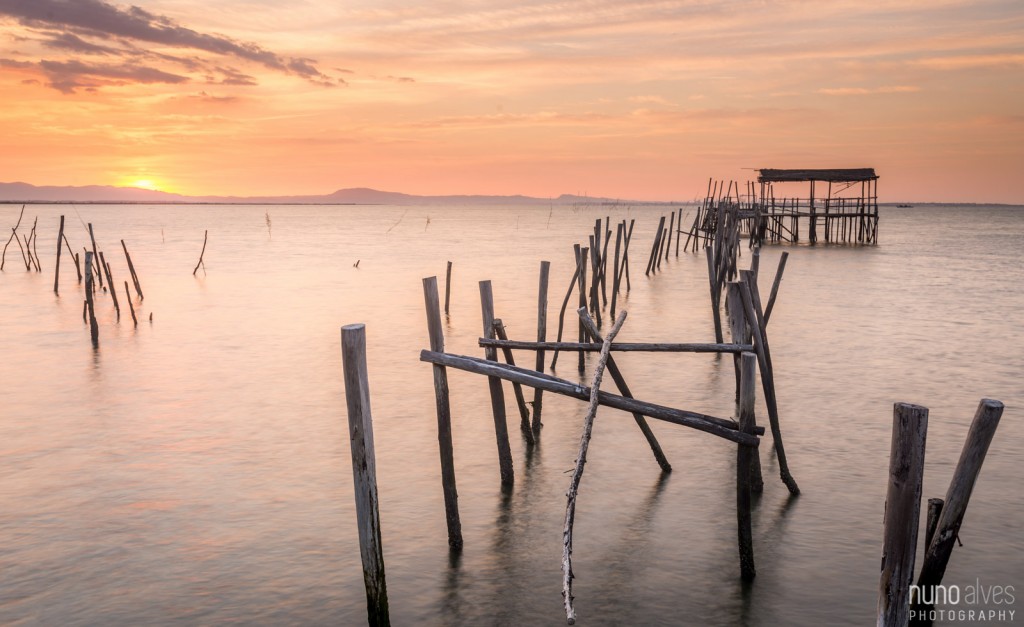
f/11.0, 1 sec, ISO 100, 2 stops GND filter
In order to overcome these problems, one should use Filters. These filters are available in both a circular screw-on format and in a rectangular slot-in format.
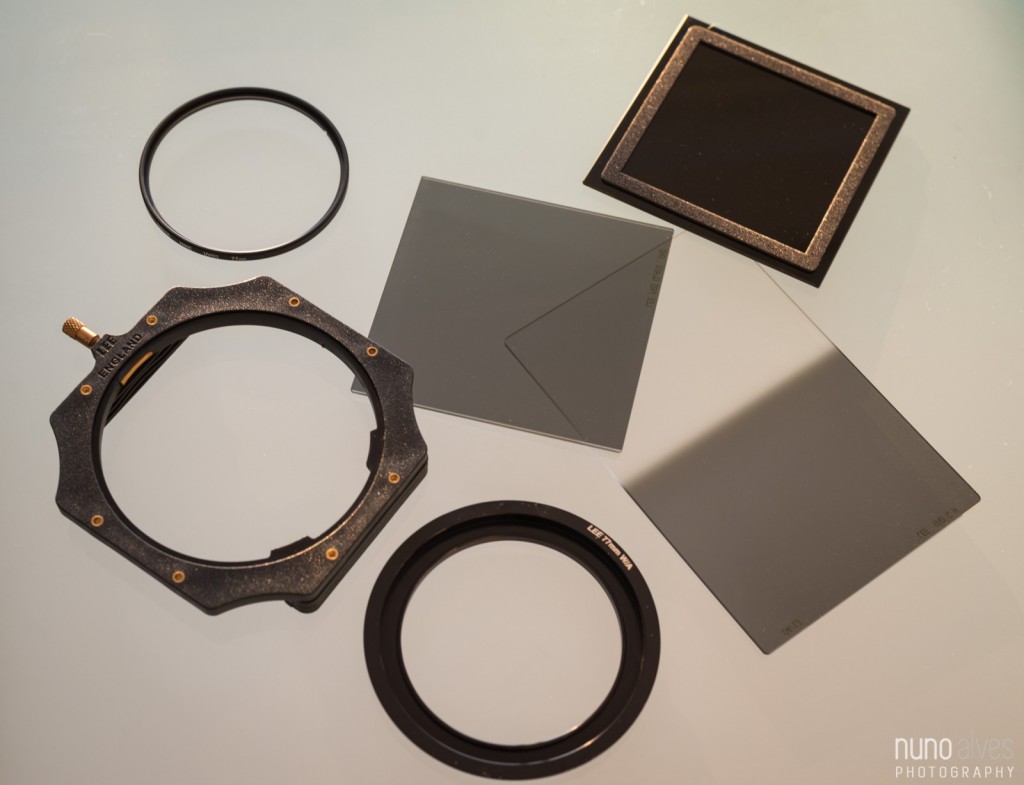
Slot-in and screw-on filters
Both have their advantages, but in my opinion if you plan on stacking several filters, I would say slot-in filters are better in the long term. I started with a screw-on system and ended up upgrading to a slot-in system: we can easily detach all filters at once depending on the conditions we are experiencing at that moment.
Moreover, with screw-on filters you need one for each lens size, hence getting multiple filters with the same characteristics. On the other hand, with a slot-in filter you just need an adapter ring to attach to the filter holder.
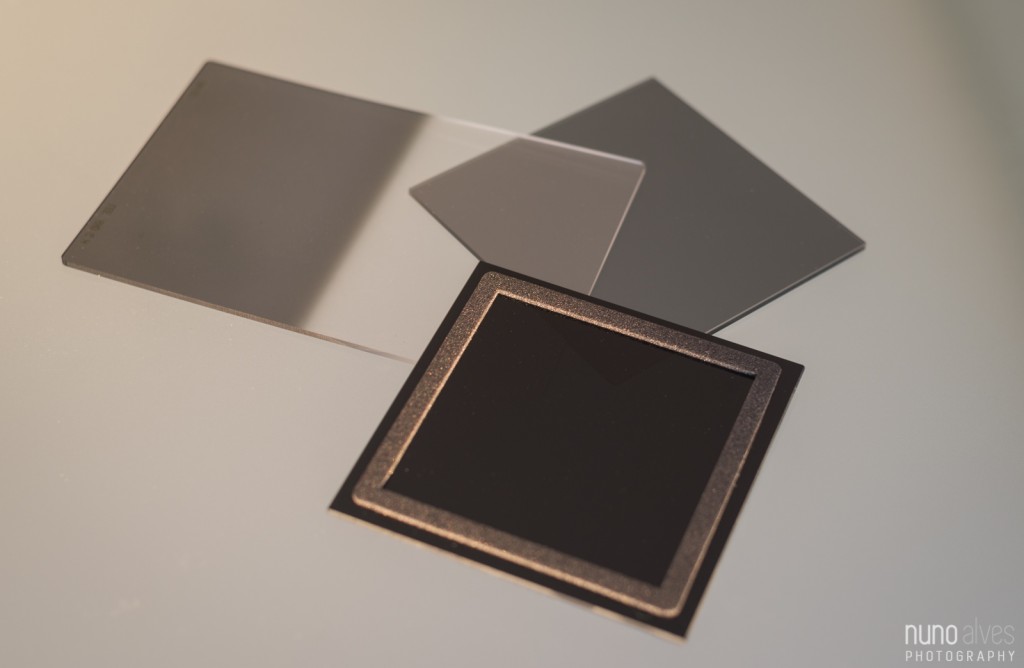
Slot-in filters
There are several filter types (each with their own pros and cons):
- ND filter
- Graduated ND Filter
- UV filter
- Polarising filters
If you are not in low light conditions (sunset, dusk, etc), you will need Neutral Density (ND) filters in order to avoid overexposing your photos.
These filters have different intensities varying from 1 to 10 stops (the latter being also called Big Stopper). Personally I use only three ND filters: 2, 6 and 10 stops. The first when the natural light is getting low and I just need to decrease a bit my stops. The second in day light when I need to shoot a waterfall for example. And the latest for extreme long exposures, creating cloud movements and flat-like water.
These filters cannot be reproduced in post-production so they’re great tools to have in your bag.
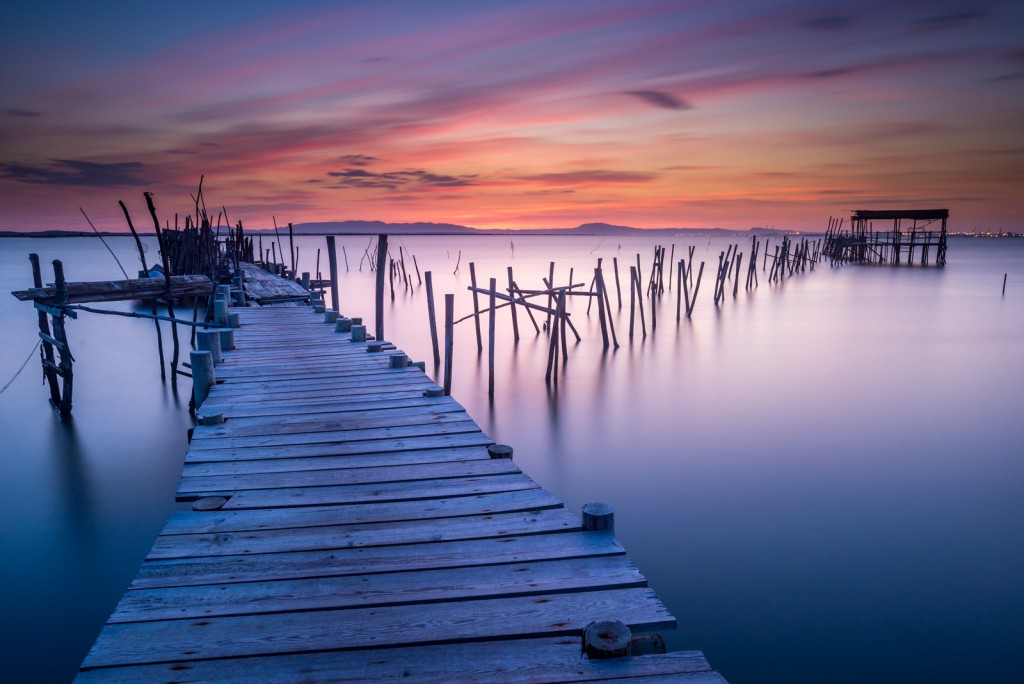
f/9.0, 92 sec, ISO 100, GND and ND filters stacked
Depending on your needs, you will discover many other kinds of filter such as the Graduated Neutral Density (GND) filter where half of the filter is dark and the other half is transparent. These filters are mostly used for sunrises/sunsets or any other situation where there is a big accentuated difference of light in two parts of the photo you are shooting.
There are 3 types of GND filters:
- Hard edge: for sharp transitions between sky and land – usually used on clear horizons.
- Soft edge: when there are subjects between the sky and land in the horizon. This creates a smooth transition.
- Reverse: similar to hard edge filter where the transition is reverted – stronger near the horizon line and fading as we move to the edge of the filter. Very useful for those sunrises and sunsets!!
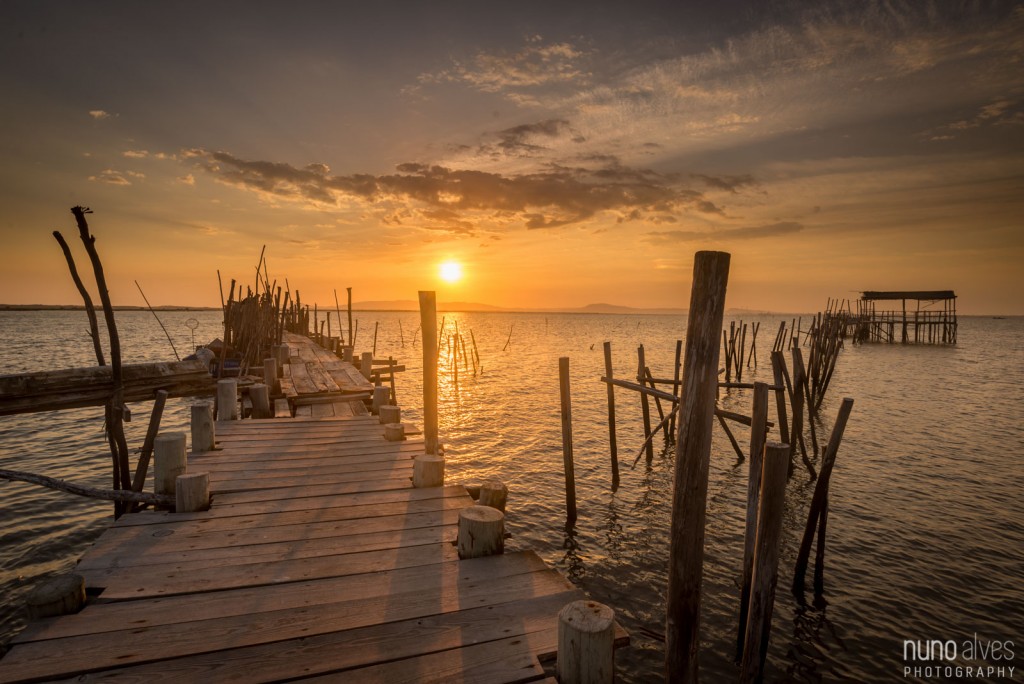
f/11.0, 1/80 sec, ISO 100, 2 stops GND filter
As for UV filters, I use them as a protection to the lens. We should not spend thousands of euros on a single lens and risk damaging the lens where this can be avoided with a cheap solution: UV filters.
These filters are supposed to reduce UV rays from the final picture, but nowadays this doesn’t make much sense with the advance of the digital world. I use them as a means to protect scratching my lens and that’s all 🙂
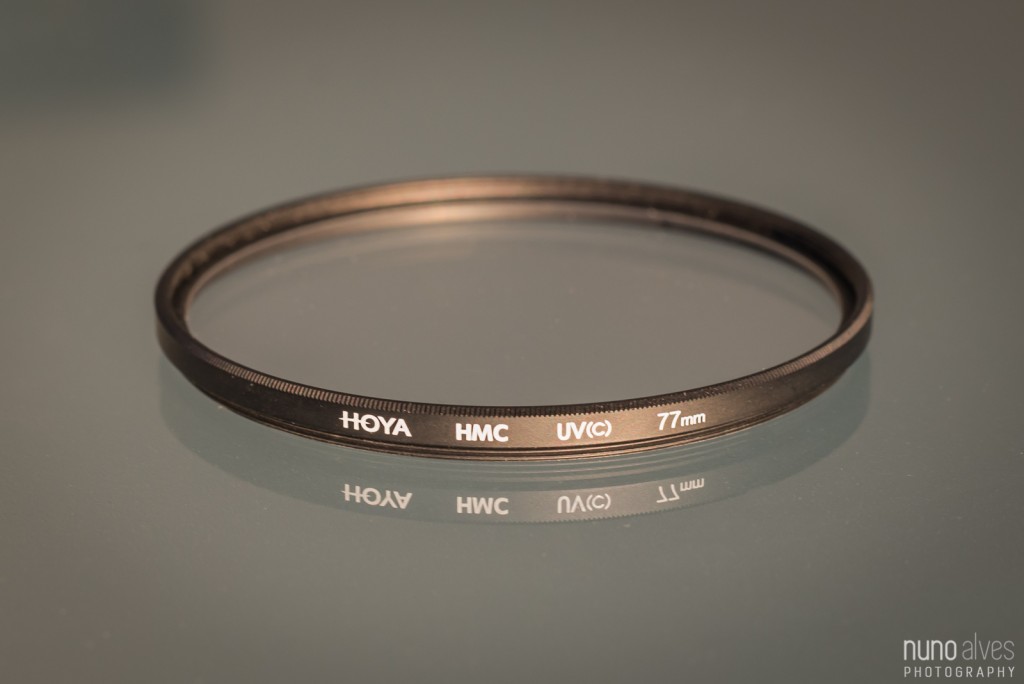
UV Filter
And last but not the least the Polarising filters. These filters are a must in landscape photography as they reduce the glare and reflections in water and wet surfaces. Moreover, clouds have a higher contrast in the sky and the overall colours of your picture become more vibrant.
There are two kinds of polarising filters: circular and linear. Whereas the former in used in most dSLR cameras, the latter one is not compatible with auto-focus and most recent cameras.
Most polarising filters are circular and you can get adapters even when using slot-in filters. In order to use these filters, you should rotate the filter keeping in mind that the maximum effect is when the angle between you and the sun is 90°.
One negative point of this type of filters is that the polarising effect is not uniform. Thus, for wide-angle lenses these filters are not advisable as you will obtain some “weird” skies.
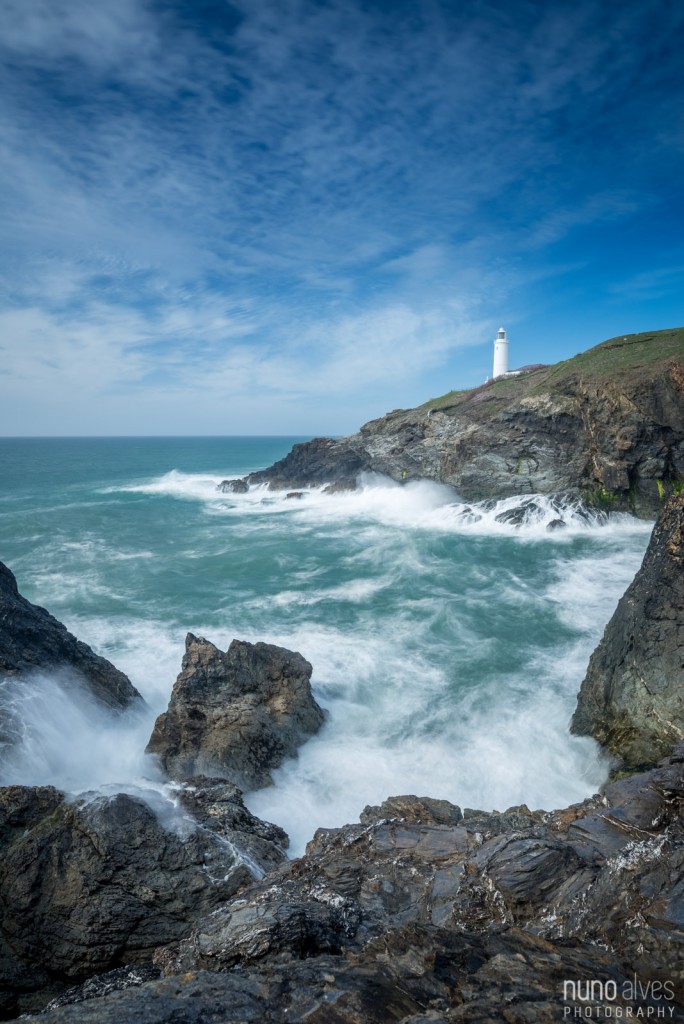
f/11.0, 2.5 sec, ISO 100, Polariser, ND and GND filters
This topic could go on forever but I hope that with these few bases, you could start playing with photographic filters 🙂
Comments, critiques? Let me know your thoughts and experiences with filters.